So you finally got your brand new gaming laptop. You unboxed it but you are a bit lost about how to set it up correctly? What apps should i install first? Are my battery settings optimal? What about backups? How do i remove bloatware? These are some of the most common questions that may pop in your mind. At Techtiga, we review gaming laptops pretty often. So we have come up with our own formula for correctly setting up your gaming laptop for the best gaming performance. Let’s dive in.
Step 1. Unboxing and Initial Inspection
The first thing you want to do is carefully unbox your gaming laptop, keeping an eye out for any potential damage that may have occurred during shipping. Perform a quick check for scratches or physical damage. Depending on the model, there might be additional items like keyboard or screen covers, as well as protective plastic that needs to be peeled off.
Connect the included charger to a wall outlet and plug it into the laptop before turning it on. Some gaming laptops won’t power on for the first time unless connected to the charger, even if the battery is fully charged. Take the time to ensure that the screen, keyboard, and touchpad are all functioning correctly. This stage of your gaming laptop set up is very important.
Step 2. Initial Setup in Windows
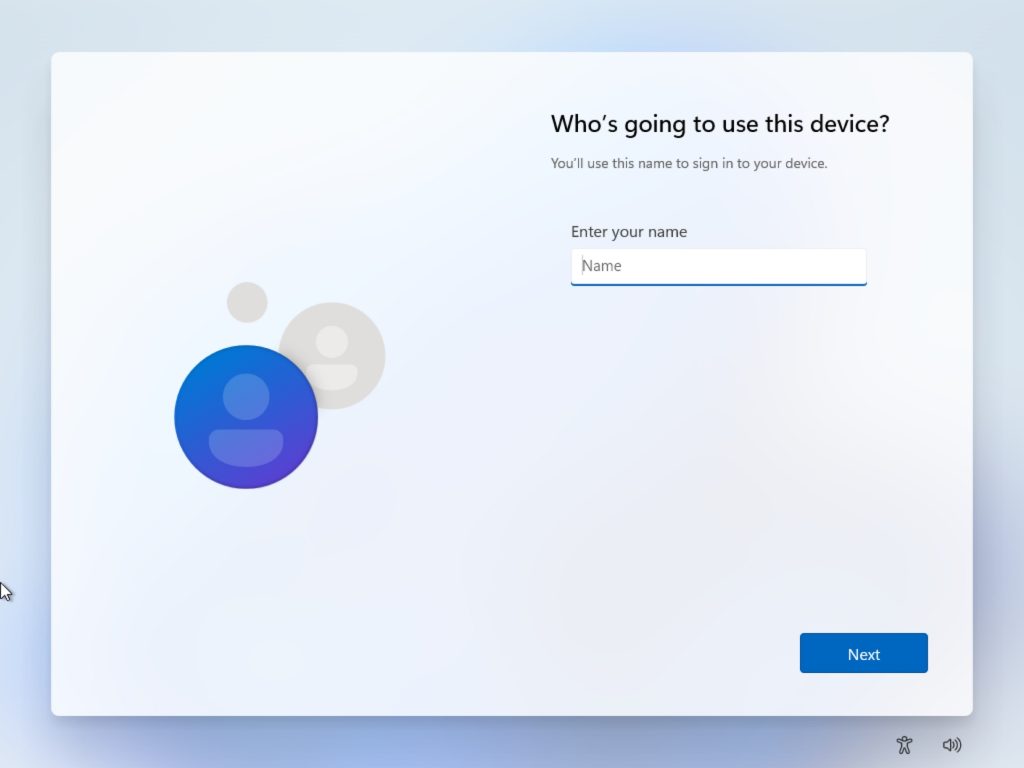
Once powered on, Windows will guide you through some basic setup options before reaching the desktop. Connect to the internet to allow for initial updates, create a user account and password, and configure privacy settings. While Windows 11 is the default for most new laptops, you might encounter some setup differences based on the model.
It’s advisable to let the laptop charge fully to 100% for the first time before running on battery power.
Step 3. Windows Updates and Software Optimization
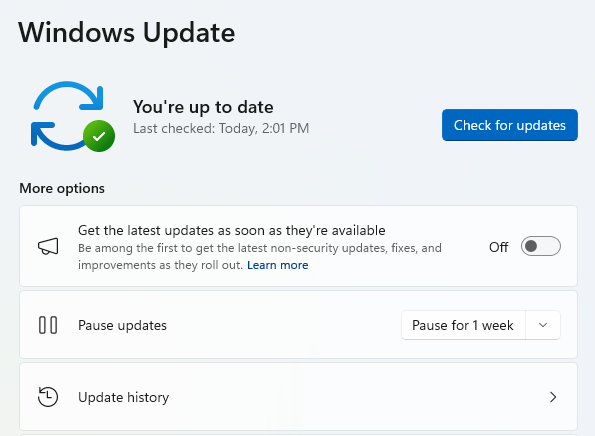
After entering the Windows desktop, the next crucial step is to download and install all available Windows updates. Navigate to the Windows Update settings and make sure there are no pending updates to ensure a smooth operation of the operating system.
Next, check for updates through the Microsoft Store, including applications built into Windows and control panel software specific to your laptop brand. Now, the operating system side of your laptop is up to date.
Step 4. Adjust Power Settings
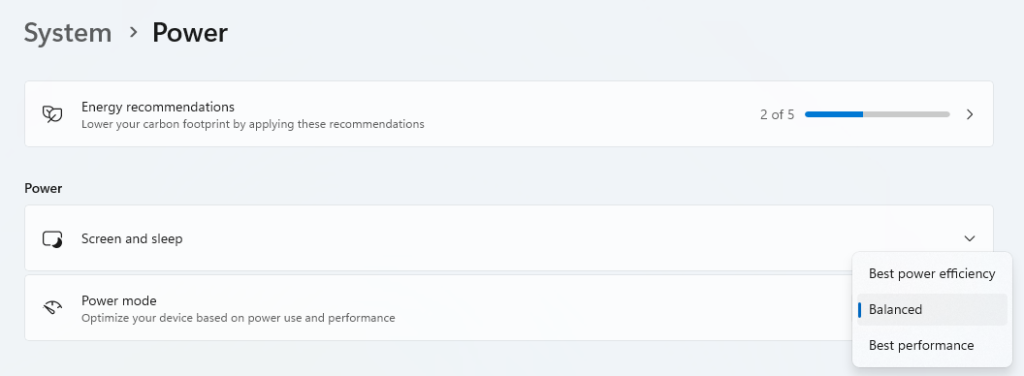
Optimize your laptop’s power settings for gaming by adjusting parameters like screen brightness, sleep mode, and power plan options. If you are someone who mostly plays games plugged in, you can choose a performance focused setting. Or if you play on the go, maybe opt for a balanced power plan.
Step 5. Bios Updates
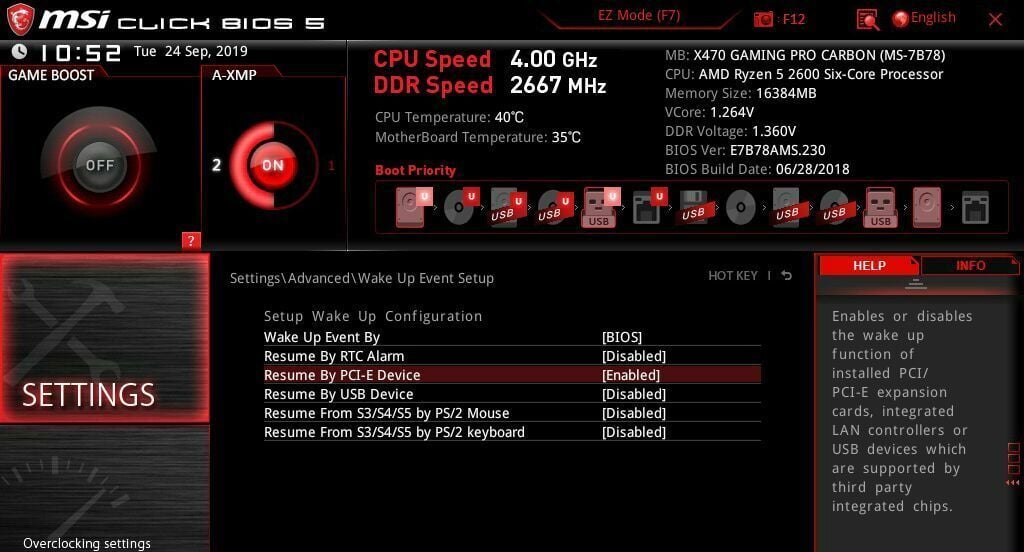
Be vigilant about BIOS updates, as they can provide important bug fixes and performance improvements. Refer to your laptop’s manual for instructions on BIOS updates, as they can be more advanced and potentially risky. Now the procedure to update your bios may vary depending on your laptop’s manufacturer. But this is something a simple google search will help you with. Note that Bios updates are typically not straightforward and come with slightly more risk of things going wrong. So keep that in mind when updating your Bios. This is one of the trickiest stages in a gaming laptop set up.
Step 6. Graphics Driver Updates
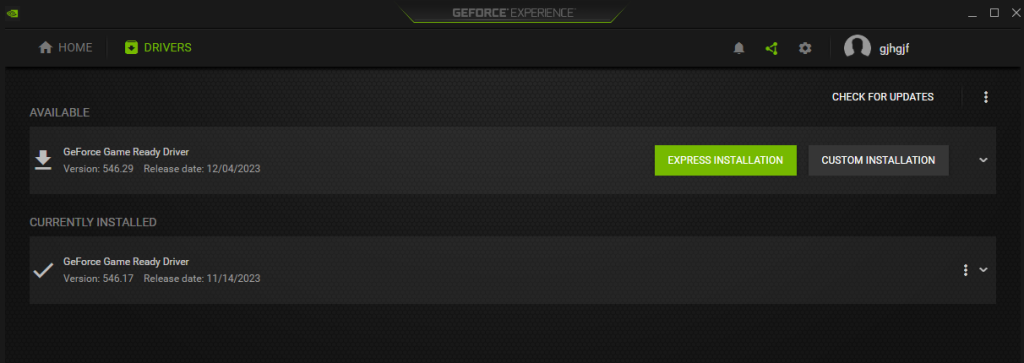
Keeping your graphics drivers up to date is crucial for optimal gaming performance. Download the latest GPU drivers from official sources such as Intel, AMD, or Nvidia, depending on your laptop’s configuration. Ensure both integrated and discrete graphics drivers are updated for the best experience.
Step 7. Display Optimization: Check Resolution and Refresh Rate
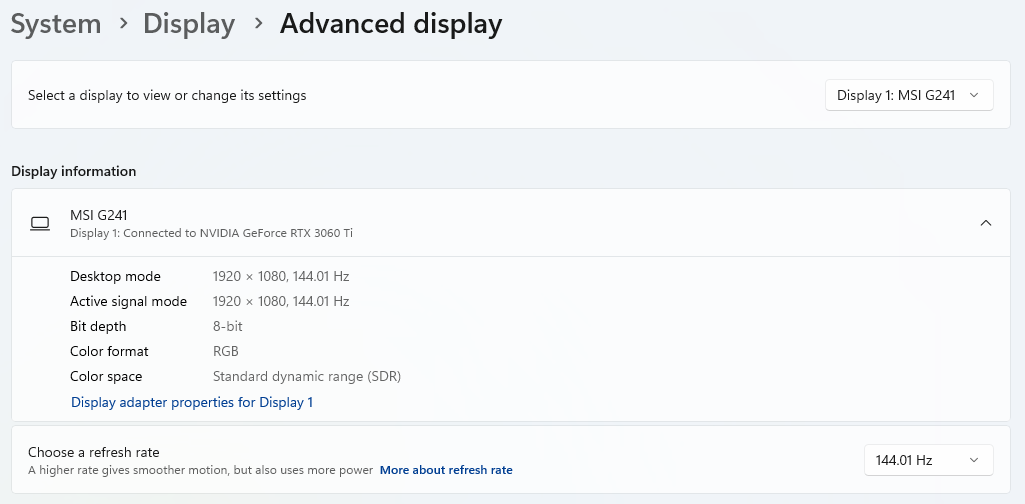
Once you’re in the Windows desktop, ensure your gaming experience is visually stunning by verifying the display settings. Right-click on the desktop, navigate to display settings, and confirm that the screen resolution is set to the highest available option. Additionally, check the refresh rate under ‘Advanced Display Settings’ to make sure it’s configured for the fastest refresh rate supported by your display. This step ensures that games look crisp, responsive, and deliver the best visual experience possible on your gaming laptop.
Step 8. Bloatware Removal
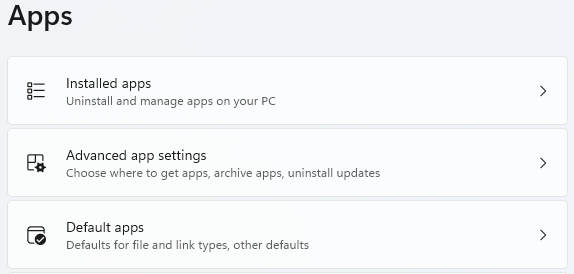
Many laptops come with pre-installed bloatware that can slow down performance. Review the installed apps and uninstall unnecessary software. Pay attention to third-party antivirus software, as built-in Windows Defender is often sufficient for most users.
Manage startup applications to improve boot times and reduce background resource usage. Consider a clean installation of Windows for the ultimate bloatware-free experience, ensuring you save the activation key before proceeding. We prefer to get rid of all the bloatware during a gaming laptop set up but you may want to make a call on what you consider bloatware.
Step 9. Personalization and Optimization
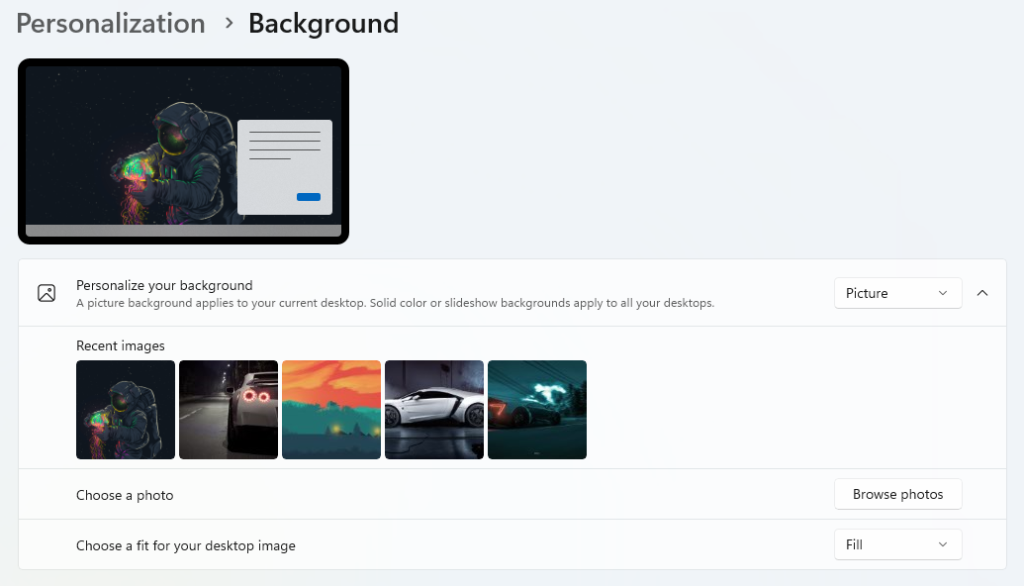
Customize your laptop to your preferences by enabling dark mode, setting wallpapers, and configuring RGB lighting. If your laptop supports features like Windows Hello, set them up for a faster and more secure login experience.
Lastly, consider running benchmarks and stress tests to ensure your laptop’s performance meets expectations. While advanced users might delve into detailed testing, most users can simply enjoy their new gaming laptop after completing these essential setup steps.
Now that your gaming laptop is finely tuned and ready to go, dive into the gaming experience and have a great time! If you’re still in the process of choosing a gaming laptop, check out our guide on picking the perfect one for you.
Step 10. Benchmarking and Stress Testing
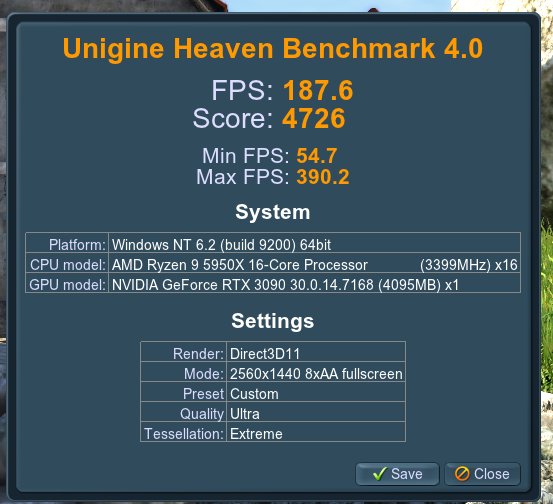
For the tech enthusiasts, consider running benchmarks and stress tests to ensure your laptop’s performance meets expectations. While casual users may find detailed testing unnecessary, it provides valuable insights into your system’s capabilities. Heaven benchmark is a free benchmarking tool that you can use. It helps you test your gaming laptop in stock and overclocking modes with real-life load. It also includes interactive experience in a beautiful, detailed environment.
Step 11. Setting Up Backups
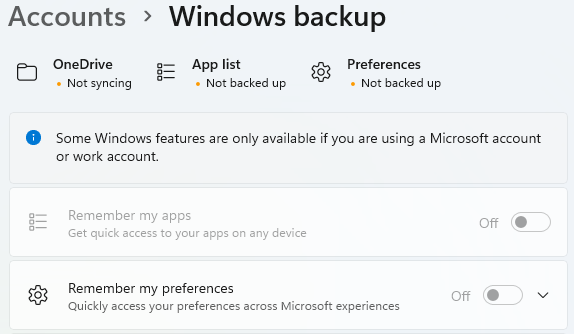
Now that you have an optimized gaming laptop, protect your valuable data by setting up regular backups. Windows offers built-in backup tools, or you can explore third-party options for more advanced features. Schedule automated backups to an external drive or cloud storage for peace of mind.
Fresh Windows Install (Advanced Users)
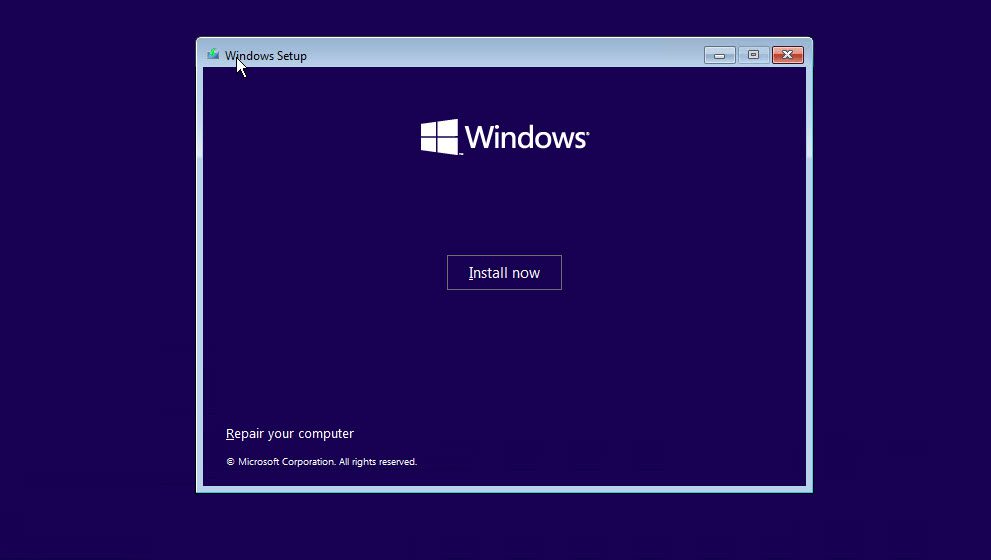
For those seeking the ultimate performance and a bloatware-free experience, consider a fresh installation of Windows. Ensure you save the activation key before proceeding and be prepared to reinstall drivers and control panel software. This route is only advisable if you are okay with a longer setup time but you want to have the pure, stock windows experience rather than the one curated by your gaming laptop manufacturer.
Next level – Laptop Gaming Set up
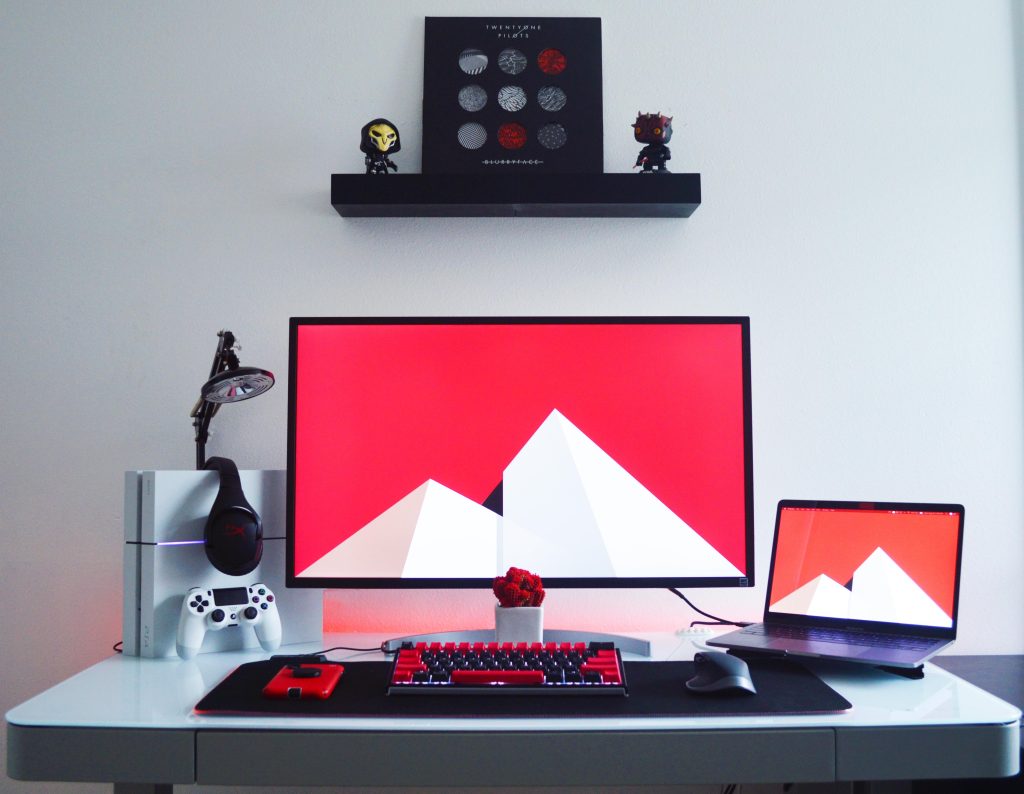
Now that your gaming laptop is set up correctly to deliver the best gaming performance, you can take things to the next level by adding more accessories to your laptop to enhance your gaming experience. Check out our guide on building an ultimate laptop gaming station. Hope our gaming laptop set up guide helps you conquer new levels.

